Perfect Pickled Eggs
My family LOVES boiled eggs! It’s not uncommon for my boys to eat a dozen boiled eggs as an afternoon snack. We also LOVE pickles! We go through pickles and pickled green beans quickly around here. When we started having an abundance of eggs, I did some research on if they could be pickled. I’d never heard of pickled eggs before or seen them in the store…though had I looked close enough in the local Buc-ee’s I’d have learned earlier on that pickled eggs are possible! Not only are they possible but they are delicious!
Whatever pickle recipe you use, you can easily use for your eggs. A simple brine of vinegar and water with your spices will do the trick. Or you can get fancy and add jalapenos, onions, or even turmeric to get a beautiful yellow color. The world is your egg oyster here.
The trickiest part of this entire set up is peeling perfect eggs! I cannot tell you how many four-letter words have slipped out of my mouth trying to peel an egg without totally obliterating it. It’s been an infuriating process. Small nicks in the egg is OK for this recipe, but if your egg completely splits or part of the yolk is showing, you will not be able to use that egg. You want your yolk protected so it doesn’t turn to mush while it’s in the pickling brine.
So…what’s the trick to a perfect pickled egg? A perfectly peeled egg! We’ve tried roasting our eggs whole. This was not worth the effort. It also left a small burn mark on the egg that bled through to the egg white itself. It also didn’t help us peel any easier. We tried steaming. We tried letting our eggs age for a week or two before using (I’ve read this helps somehow). None of these worked for us.
To get the Perfectly Boiled Egg:
Lightly tap the bottom of your egg with a spoon until you hear a tiny “POP” - this is helping separate the egg membrane from the egg shell (so I’m told). Do this while your water heats.
Set the eggs gently in the water
Boil for 15-20 minutes
Set the hot, cooked egg in a large bowl of ICE water. (We do at least half the bowl of ice and then fill with water)
Let the eggs rest in the ICE water for 15 minutes
Gets to peeling!
You may have 1 or 2 eggs that may not be perfect but it’ll be so incredibly easy to peel the majority! Ours turned out beautifully and I didn’t let a single 4-letter slip out of my mouth this time around.

So now for the actual recipe! Once you have your eggs ready, you can get your jars and brine ready.
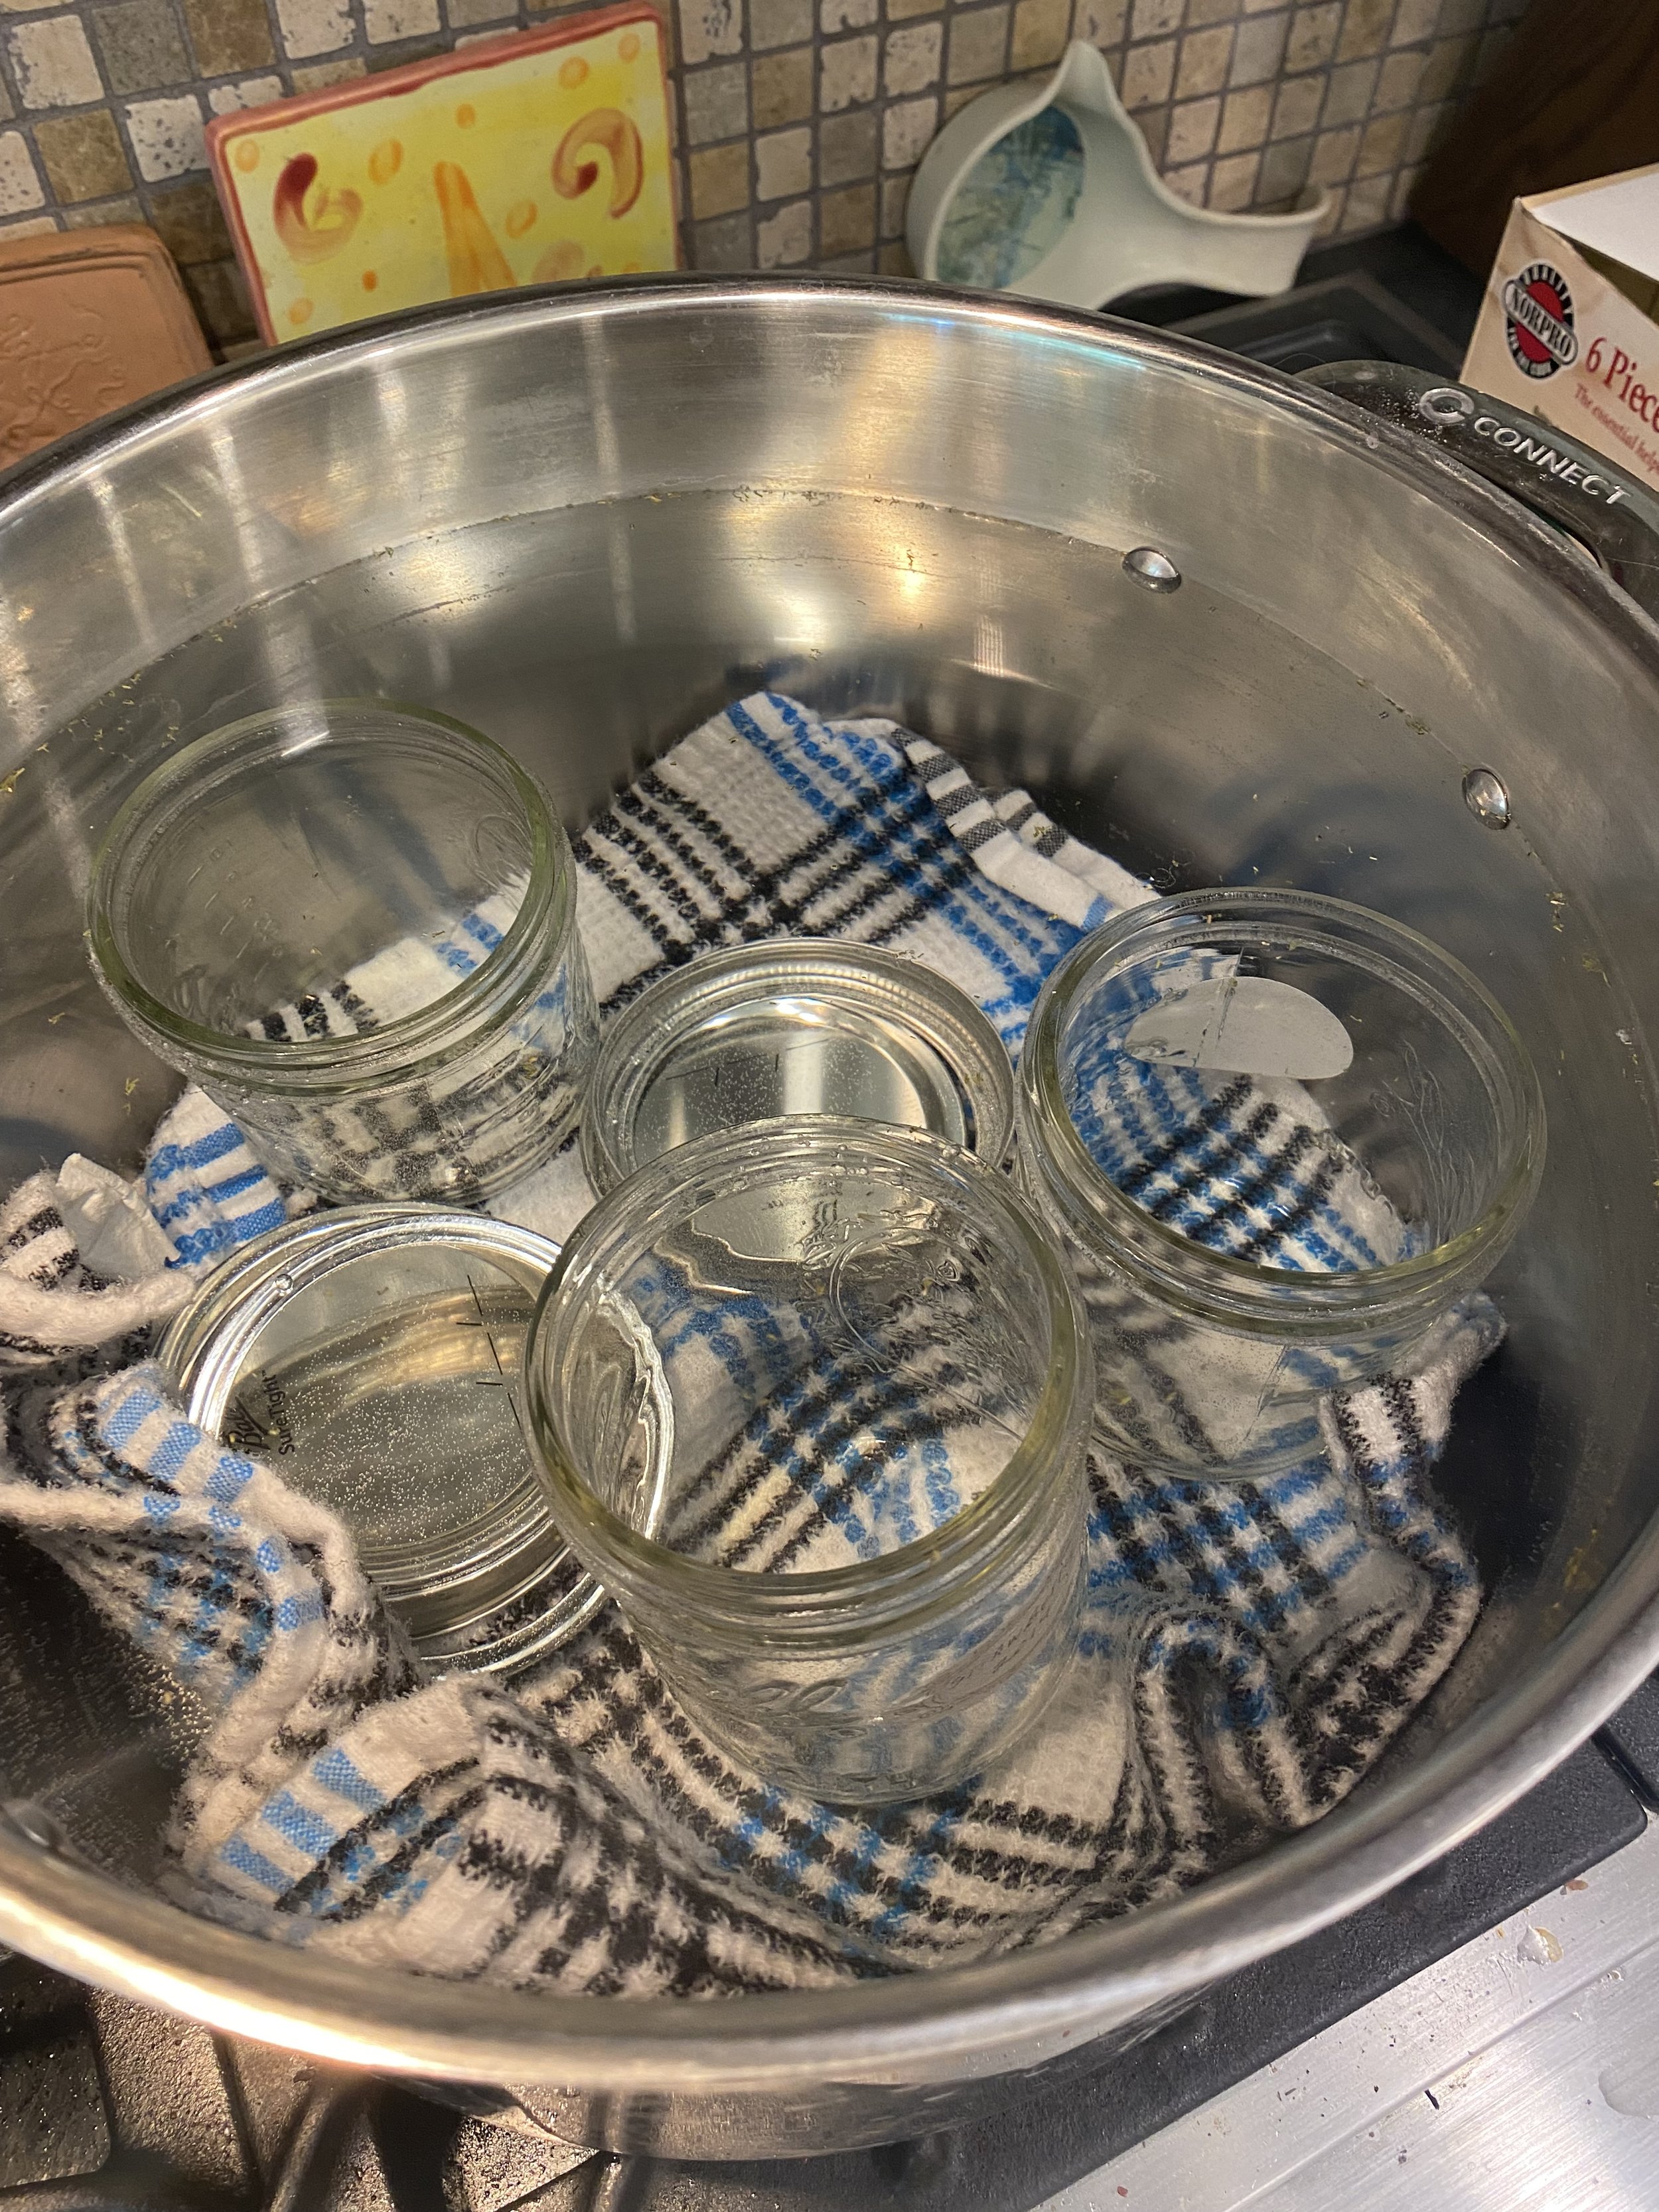
After washing your jars and lids, place them in your canning pot to keep them warm while you prep your brine. Pickling brine is extremely versatile! As long as you keep the ratio of water and vinegar, you can add any seasonings you’d like!
The Recipe
3 cups vinegar
2 cups distilled water
1 tablespoon pickling salt
1 tablespoon of sugar (or less depending on preference)
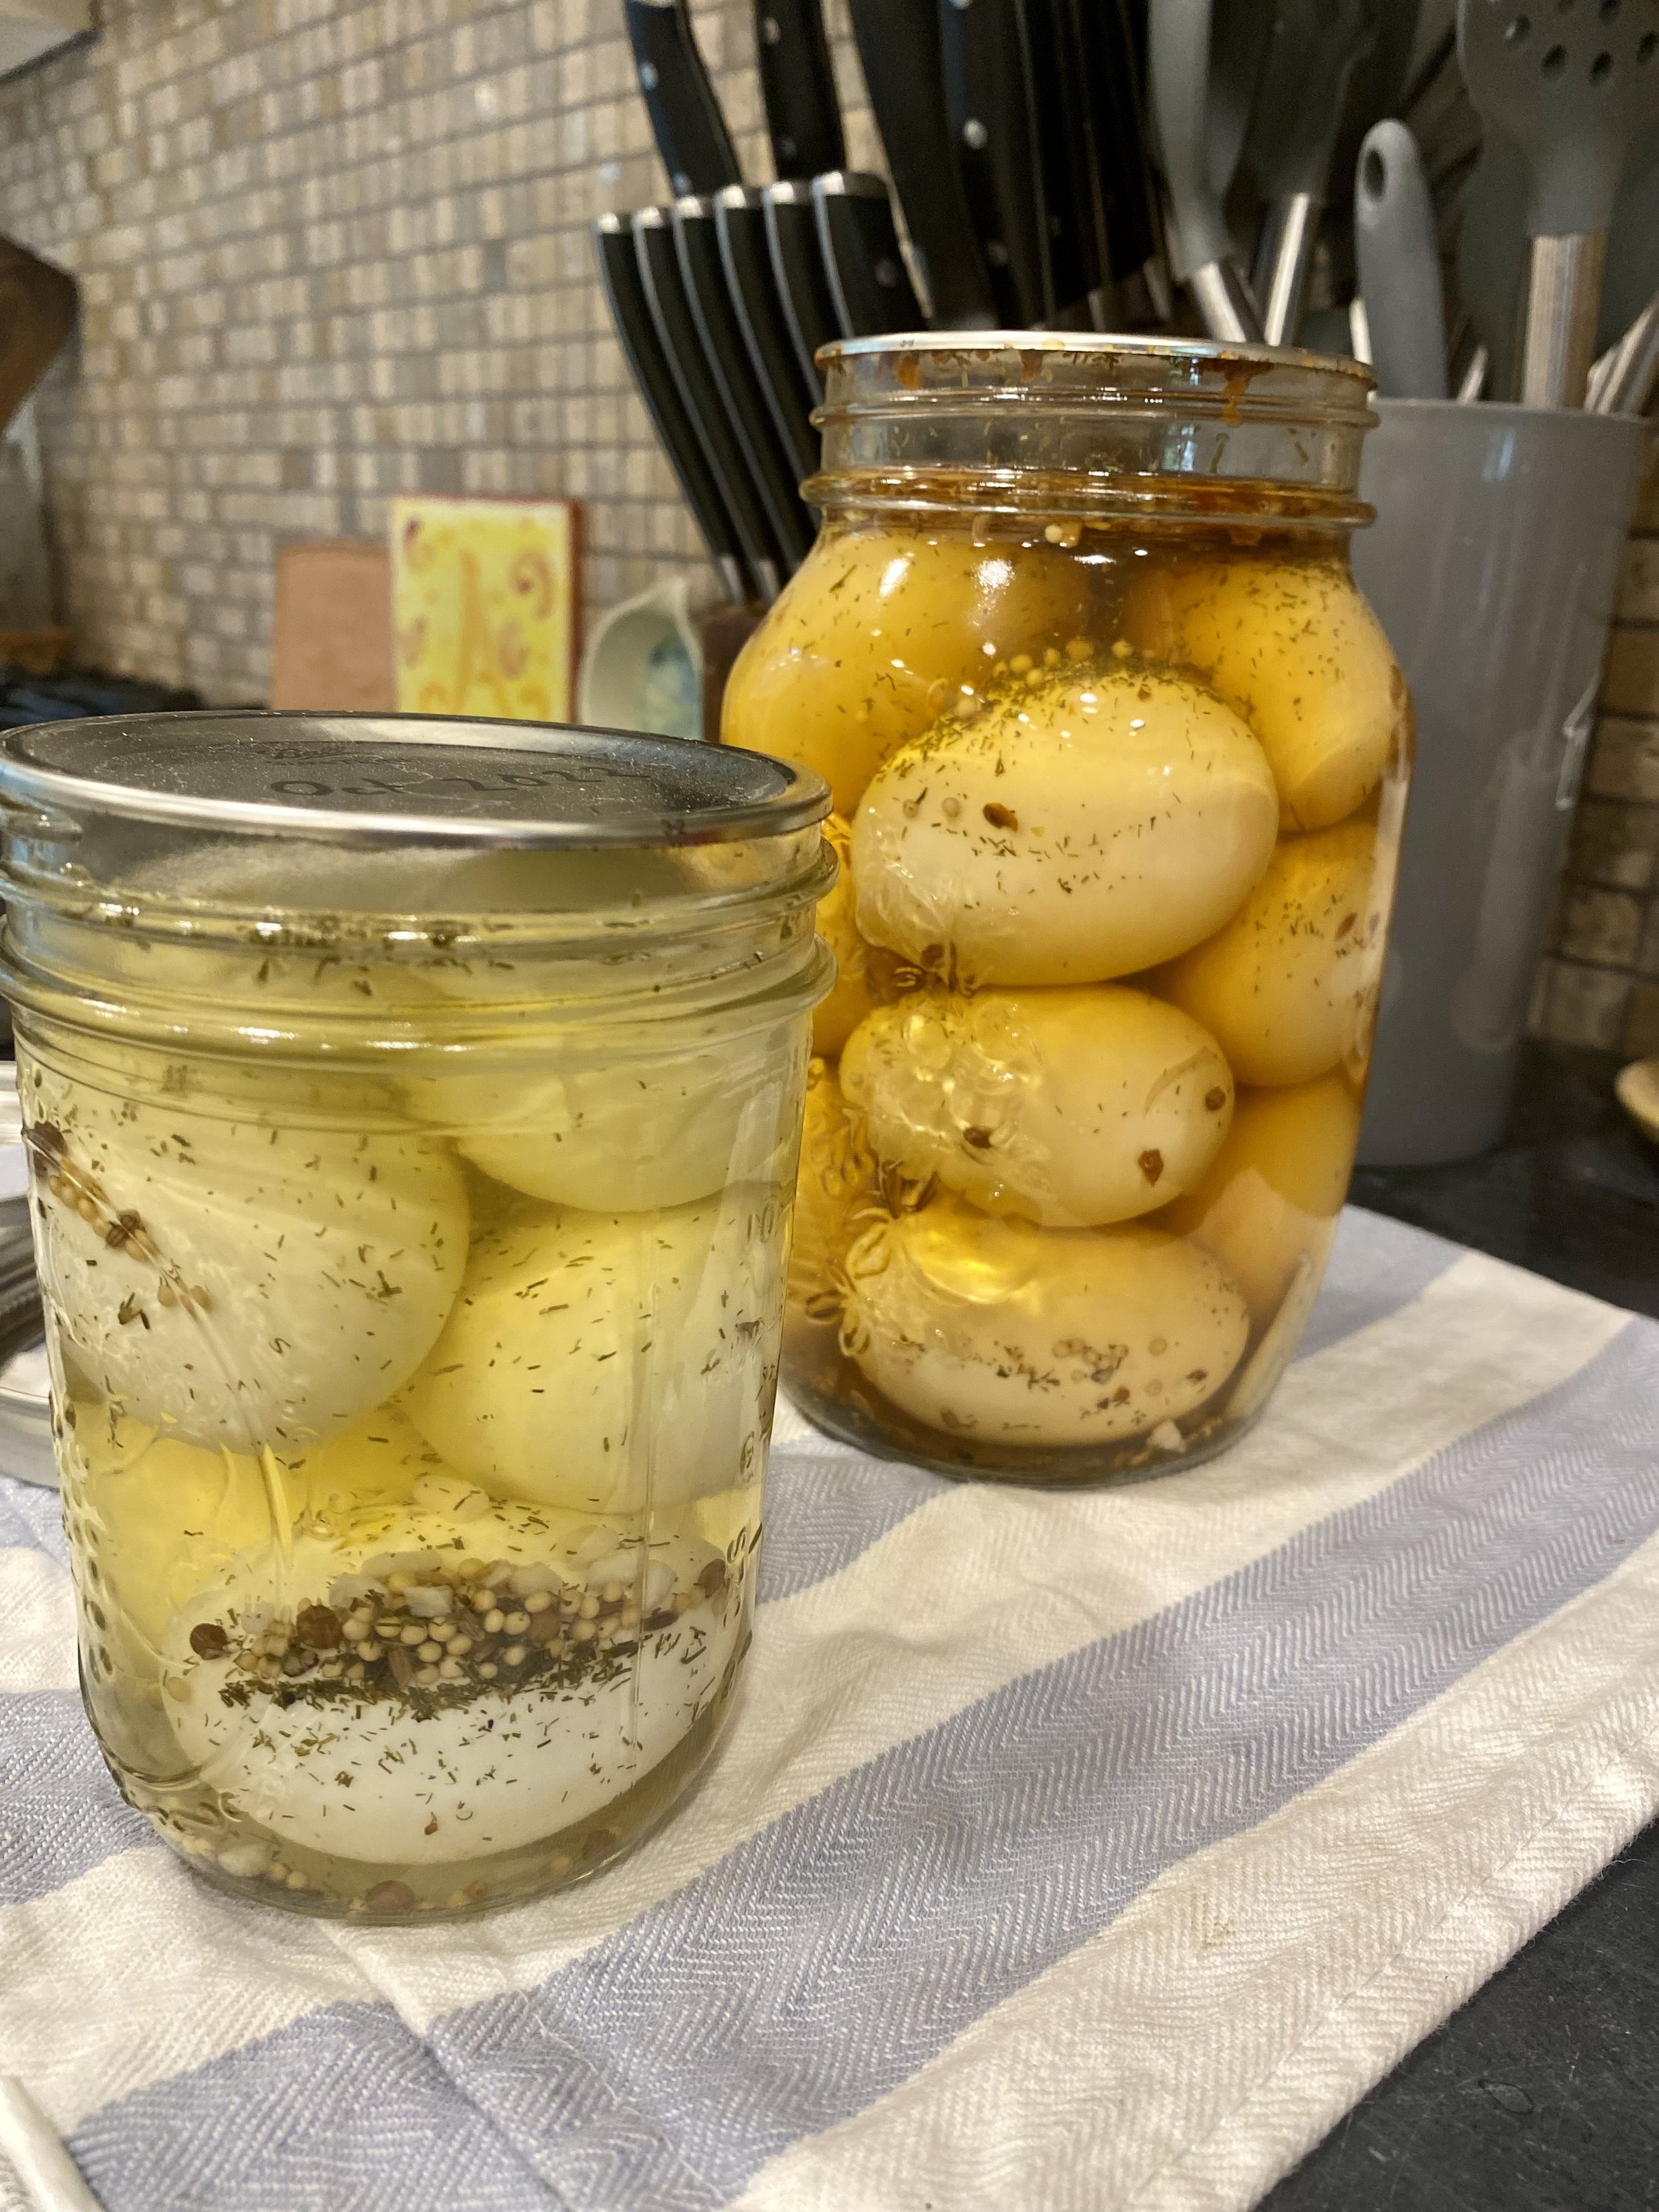
ANY spices of your choosing! (We did one batch of simple pickling spice and dill and one large jar with red pepper flakes since we ran out of jalapeños).
Garlic cloves (optional – we always add garlic to our stuff since we love it)
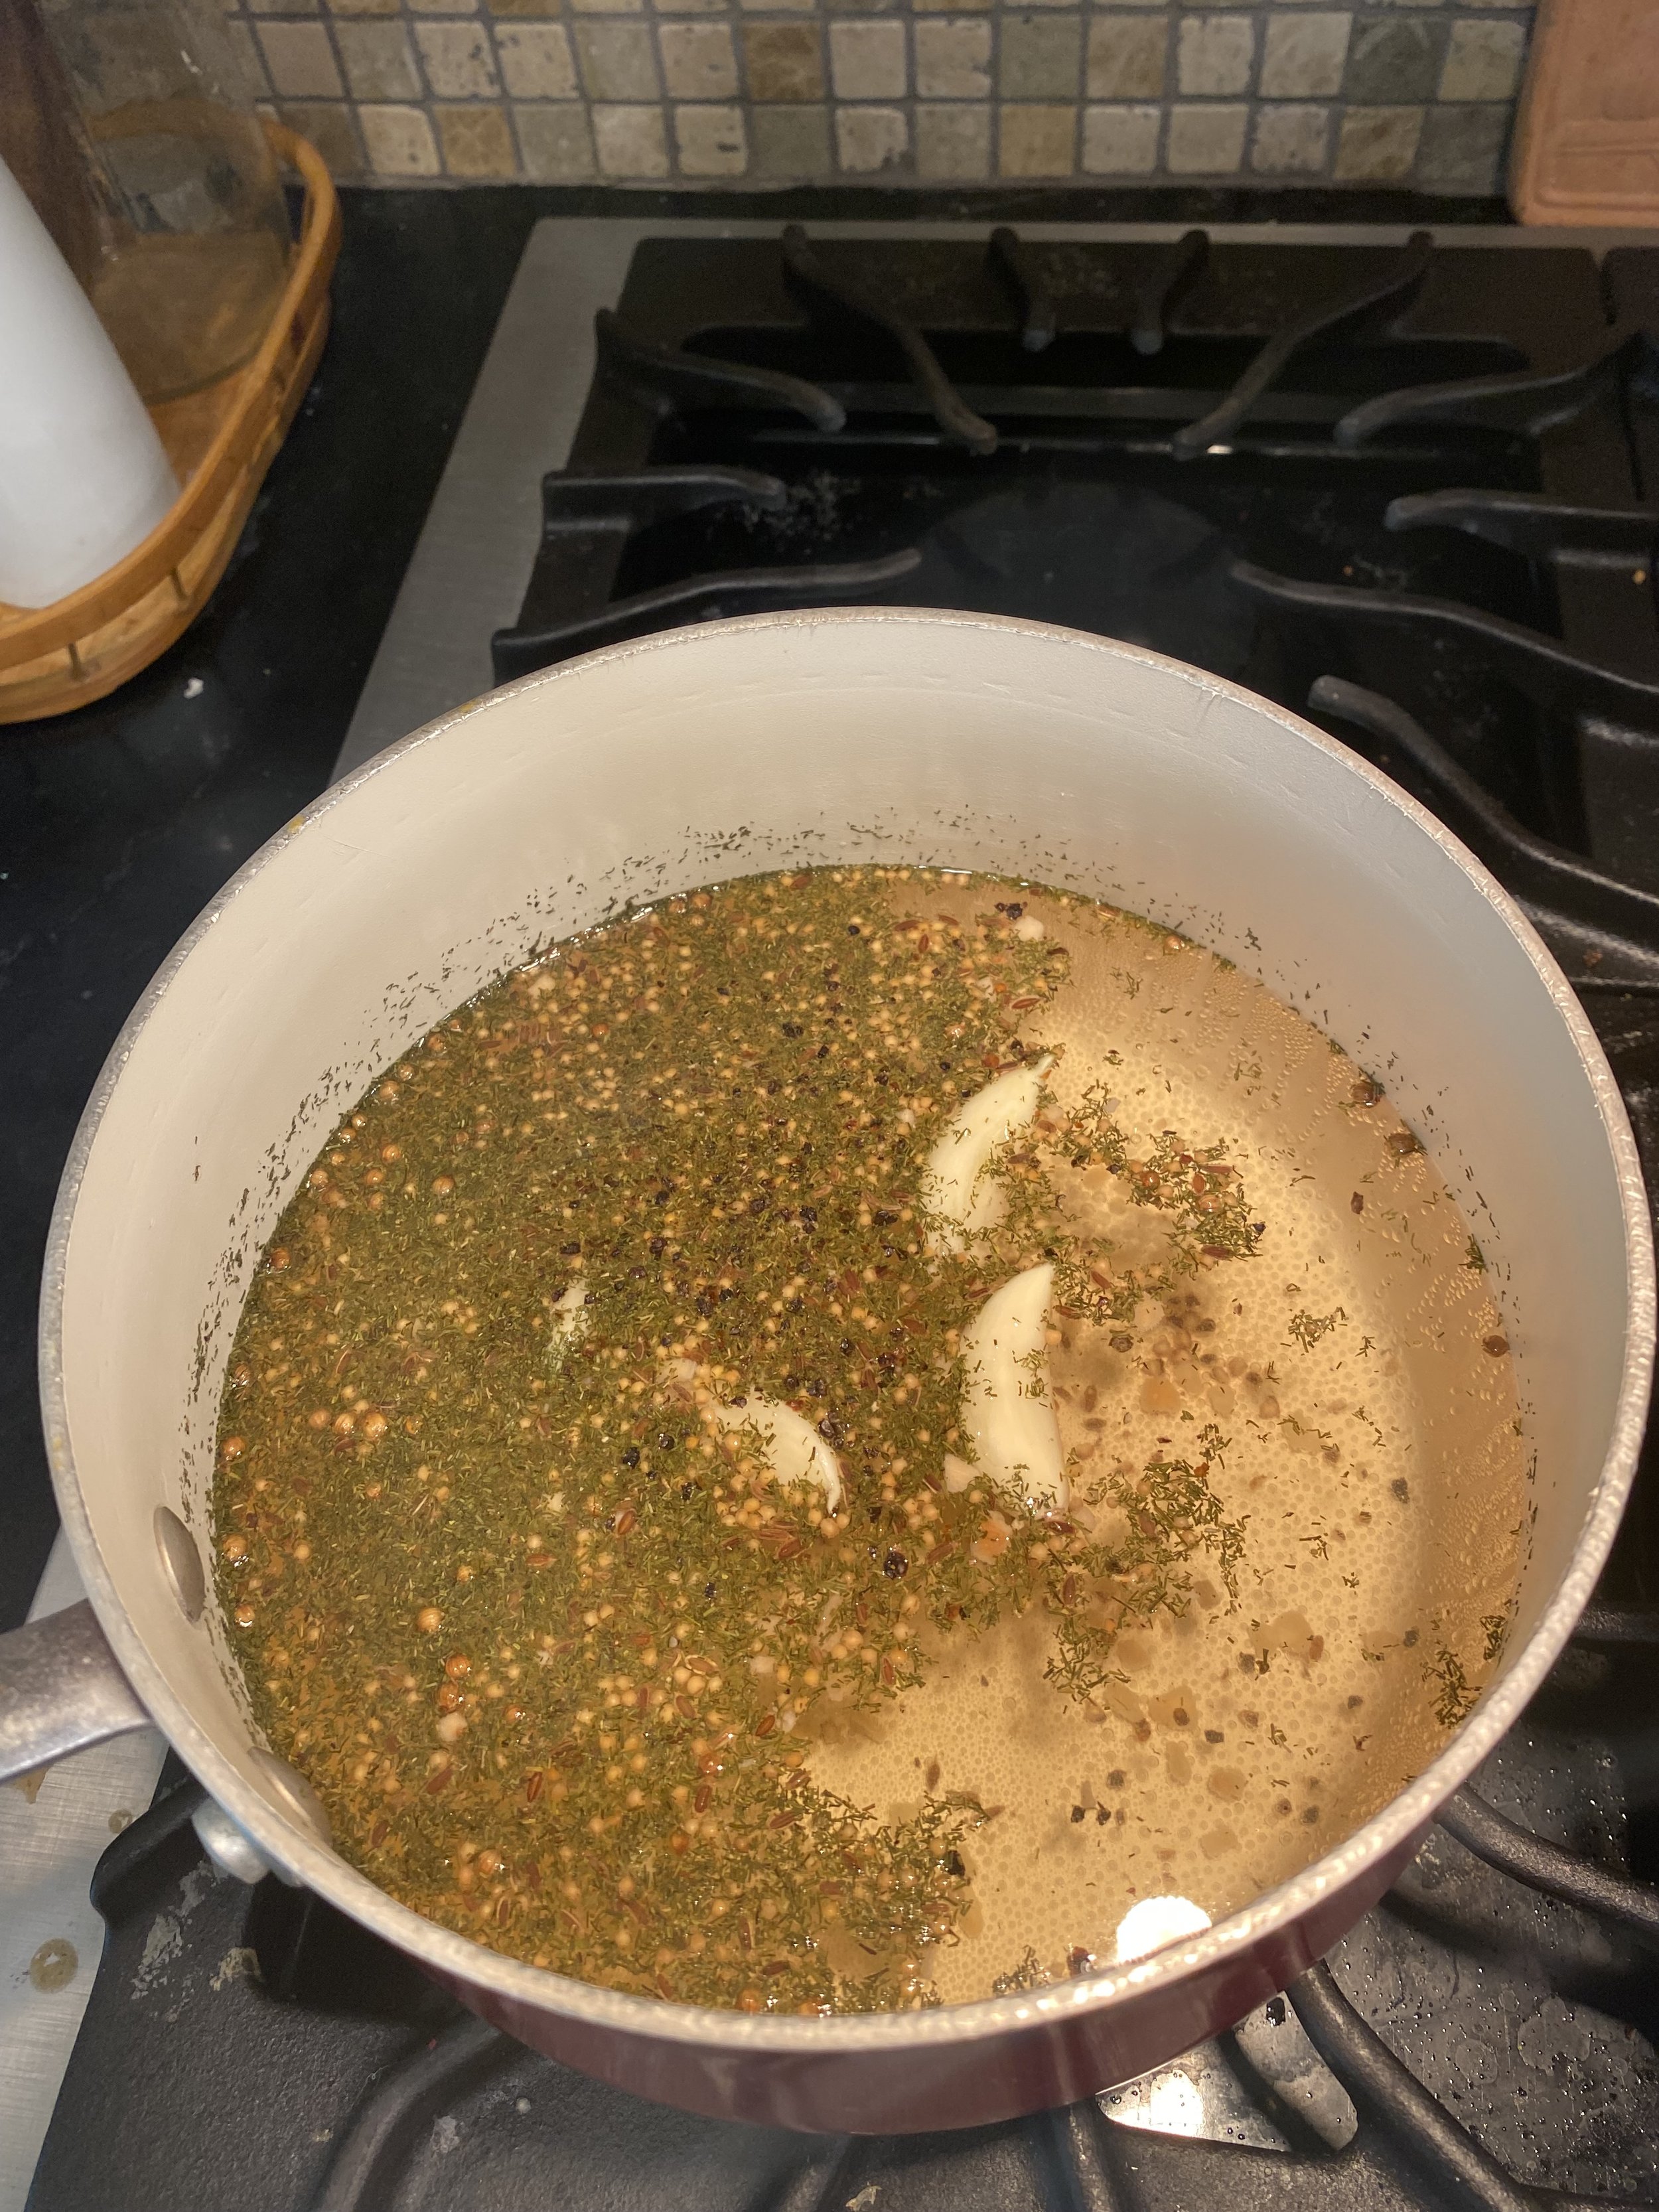
Heat all of the above ingredients in a pot and simmer.
Take off the heat, remove your jars from the pot, and load everything up!
Clean the rims of your jars with white vinegar and close finger tight
Add jars back to your simmering water, ensuring they are covered at least by an inch.
Process in boiling water for 12-20 minutes depending on the size of your jar!
Let rest on the counter overnight as the jars seal.
Allow the jars to rest so everything can get to know each other in the jars for at least a week. These will store for up to 1 year in your pantry!
Happy eating!