Processing Meat Birds
DISCLAIMER: This is a somewhat graphic post but not intended to offend or to display animal cruelty! All animals have been treated humanely, with care, and respect for what they’re providing. This post is intended for educational purposes only.
Note: This post also contains affiliate links in which I may receive a small commission.
I know I wrote about why we raise meat birds a few weeks a go, but I know learning about the actual process of processing can be appalling or scary or just cause uneasiness for some so I want to start by reiterating, we raise our birds because we want to know where our meat has come from, how it’s been treated, processed, and to ensure we’re not reliant on supply chains to feed our family.
We raise everything with the intent of utilizing as much as we can so we’re not wasteful in any sense. Non-usable parts are used in the garden or compost. Organs are used for our dogs as treats. Feet and chicken bones are always used for fresh bone broth. And, we love sharing our birds with friends and family. The satisfaction and joy we get from raising our own meat is also helping us instill a deep sense of appreciation for our meals in our children. Believe it or not, they actually get disappointed if the meat we’re eating is store bought! This lifestyle isn’t for everyone, but it’s been great for us so far and this is why I love sharing our journey, knowledge, and experience!
Phew! Ok – now on with it if I haven’t lost anyone so far.

Prep Work
Your birds are of size, now what? Before you can actually begin the process of processing your birds, you need to do just a few things to set yourself up for success.
12 to 24 hours prior to processing, you need to remove the feed from the area you have your birds. They’ll graze but you don’t want them to have full bellies of feed. It reduces unwanted mess.
Make sure your equipment is gathered and sanitized! I also do this the night before so in the morning, we can pretty much get to work. So, what do you actually need?

EQUIPMENT & MATERIALS
1. Buckets or containers – you absolutely need these to contain a few different pots of stuff. I have one bucket for the guts and throw away pieces. One bucket for organs we’re saving, one for feet (we save those as well), and at least one for clean and fully processed birds. If you’re processing quite a few birds, you’ll likely want more than 1 container to keep your clean bird. I also fill these containers with cold water to help cool the birds down a bit (I’ll explain why shortly). Oh, and you’ll need a bucket for the blood as you allow your chickens to drain out.
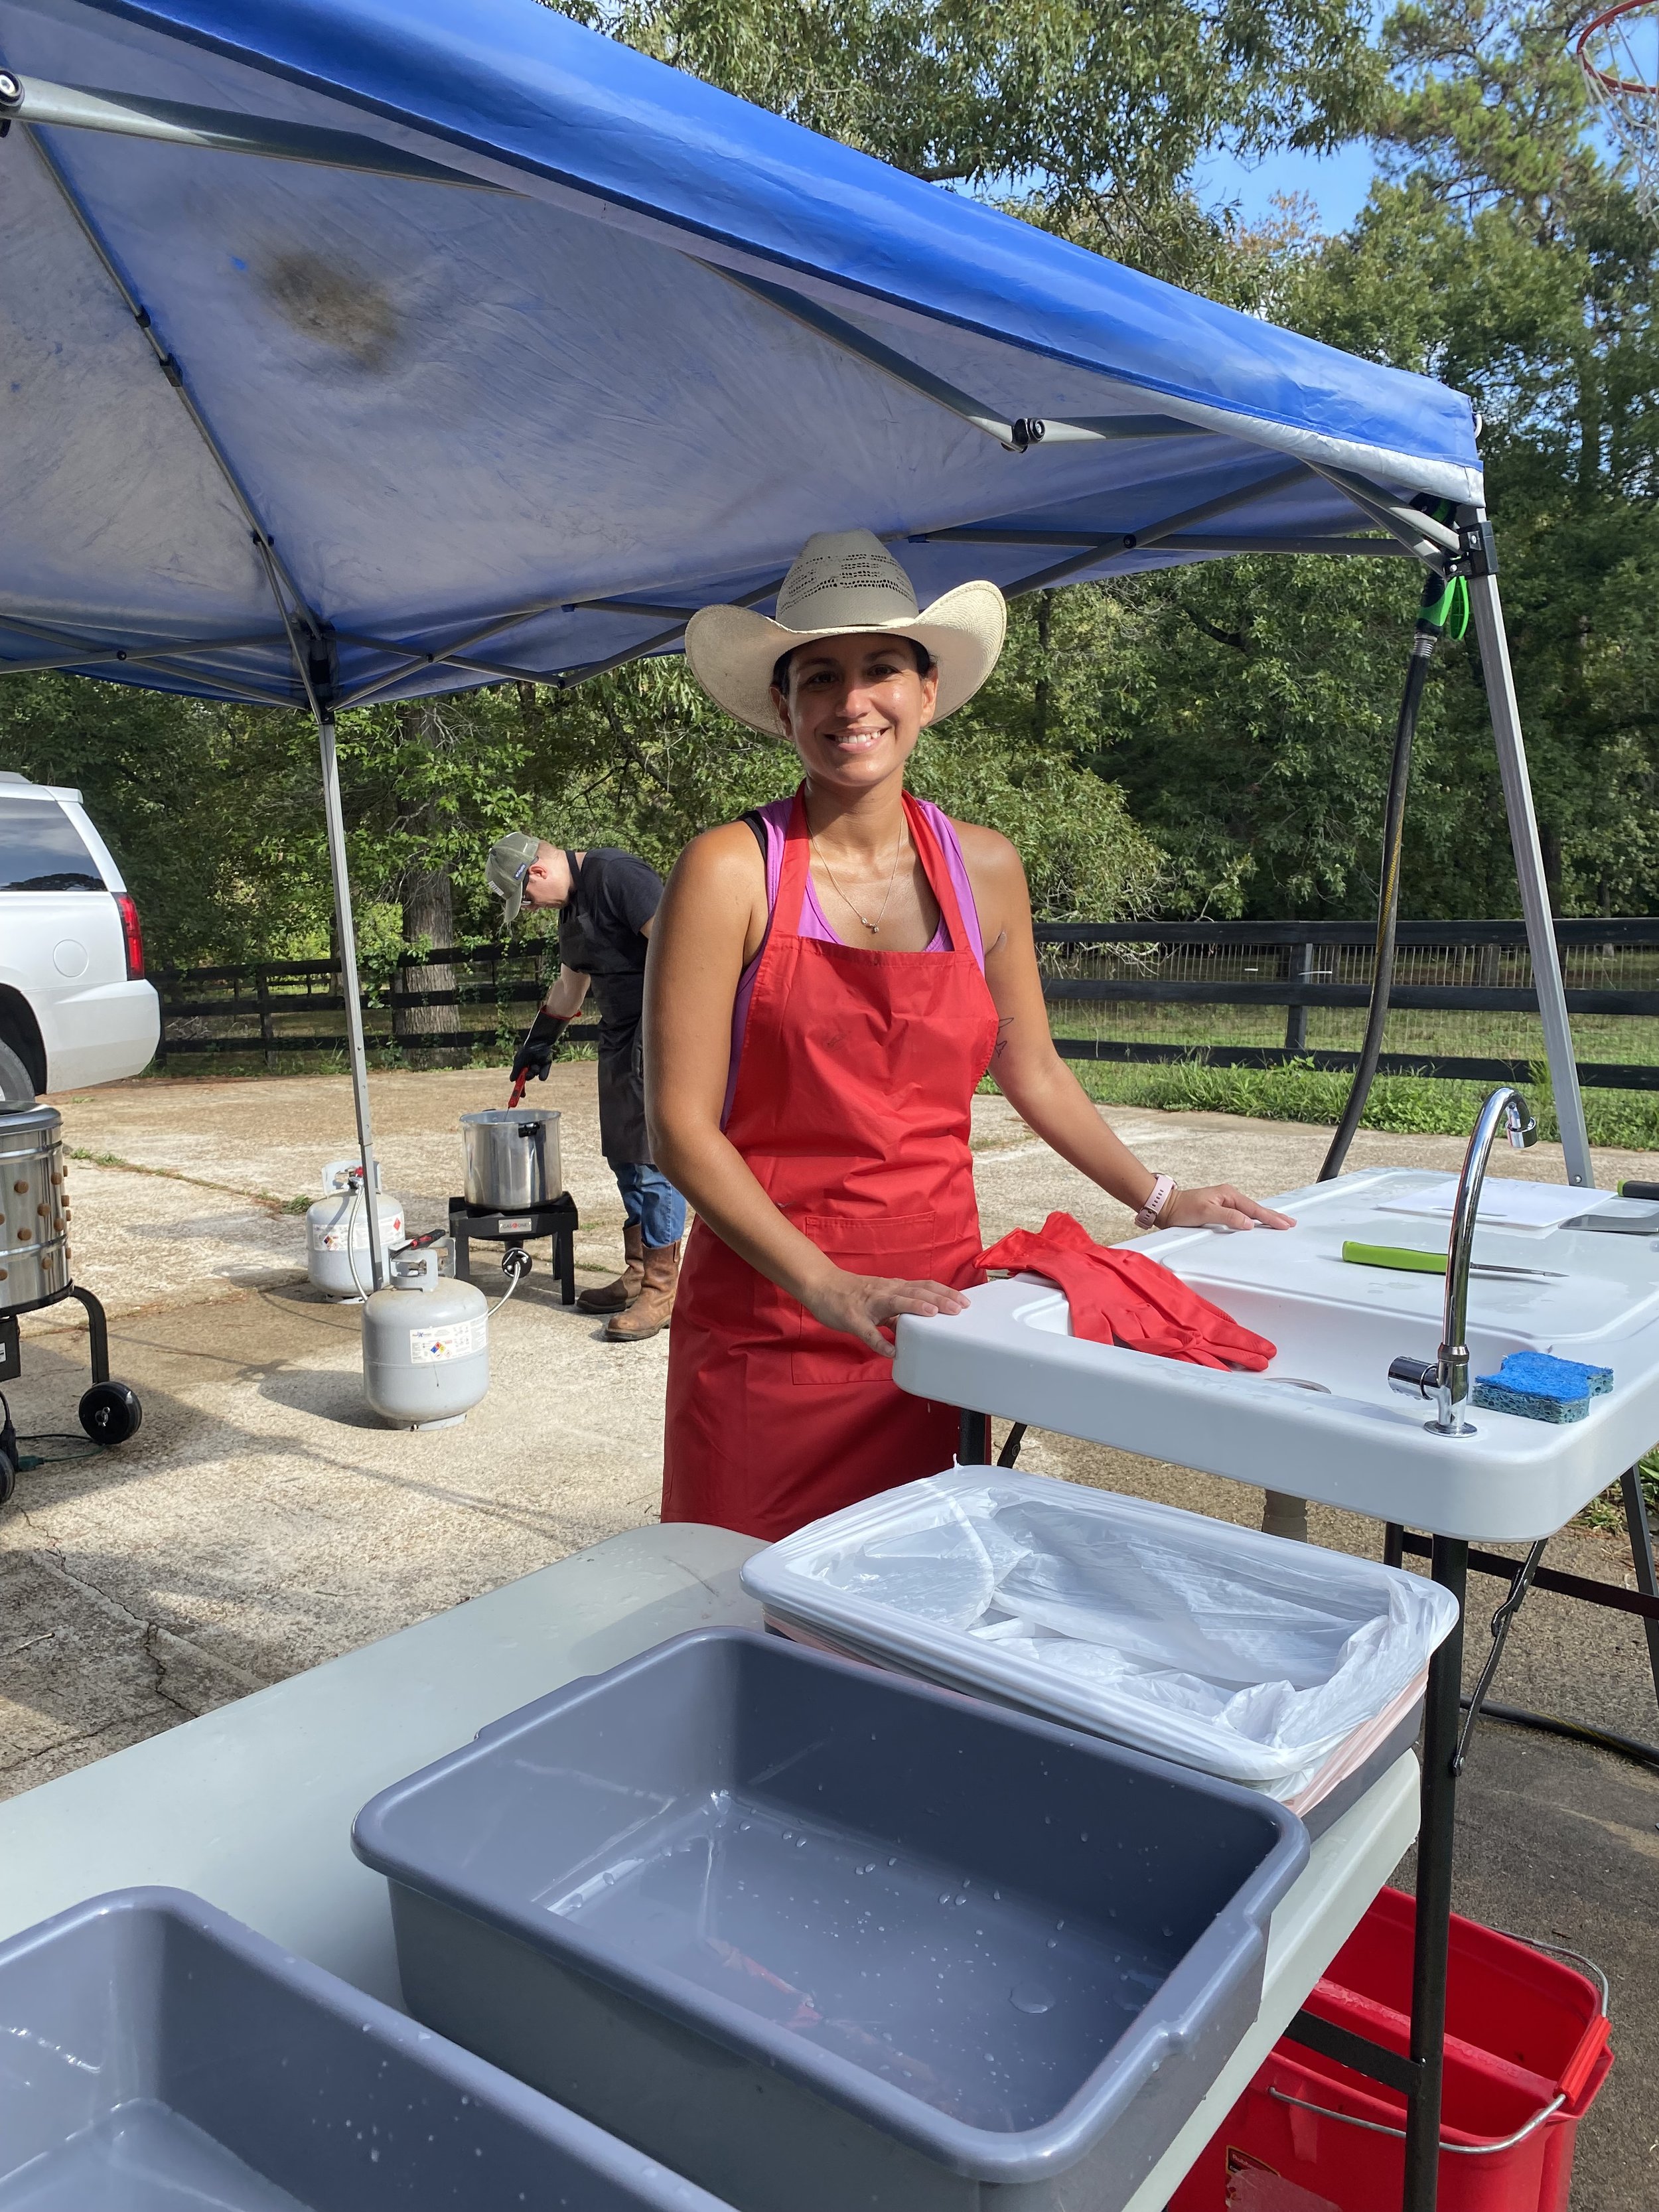
2. A few tables. I have 1 table with a built in sink that I actually process the birds on and 1 table I keep my containers.
3. Bird Bags with zip ties – need something to store your birds in once they’re ready for the freezer! We use THESE. They fit our 5 to 6 pounds birds easily.
4. Large pot or pots depending on your set up. These pots should be the same size of crawfish type pots. I recommend using two pots so you don’t need to waste time cleaning one before heading to the final step during processing.
5. Sharp knives/Processing kit – you don’t want to do this with your kitchen knives. You’re cutting through bone and smaller sections of the bird so you want to invest in a good kit that is just for this purpose.
6. Running water!!! You need clean water for scalding your birds, shrink wrapping your birds, and actually processing your birds to keep your work station clean. We just pull up an extra long hose and keep running the entire time (nozzle is on so we’re not just wasting water).
7. Burn proof gloves – you’ll be dipping your birds into hot water so you’ll need to protect your skin!
8. Processing Kill Cone – enough said here
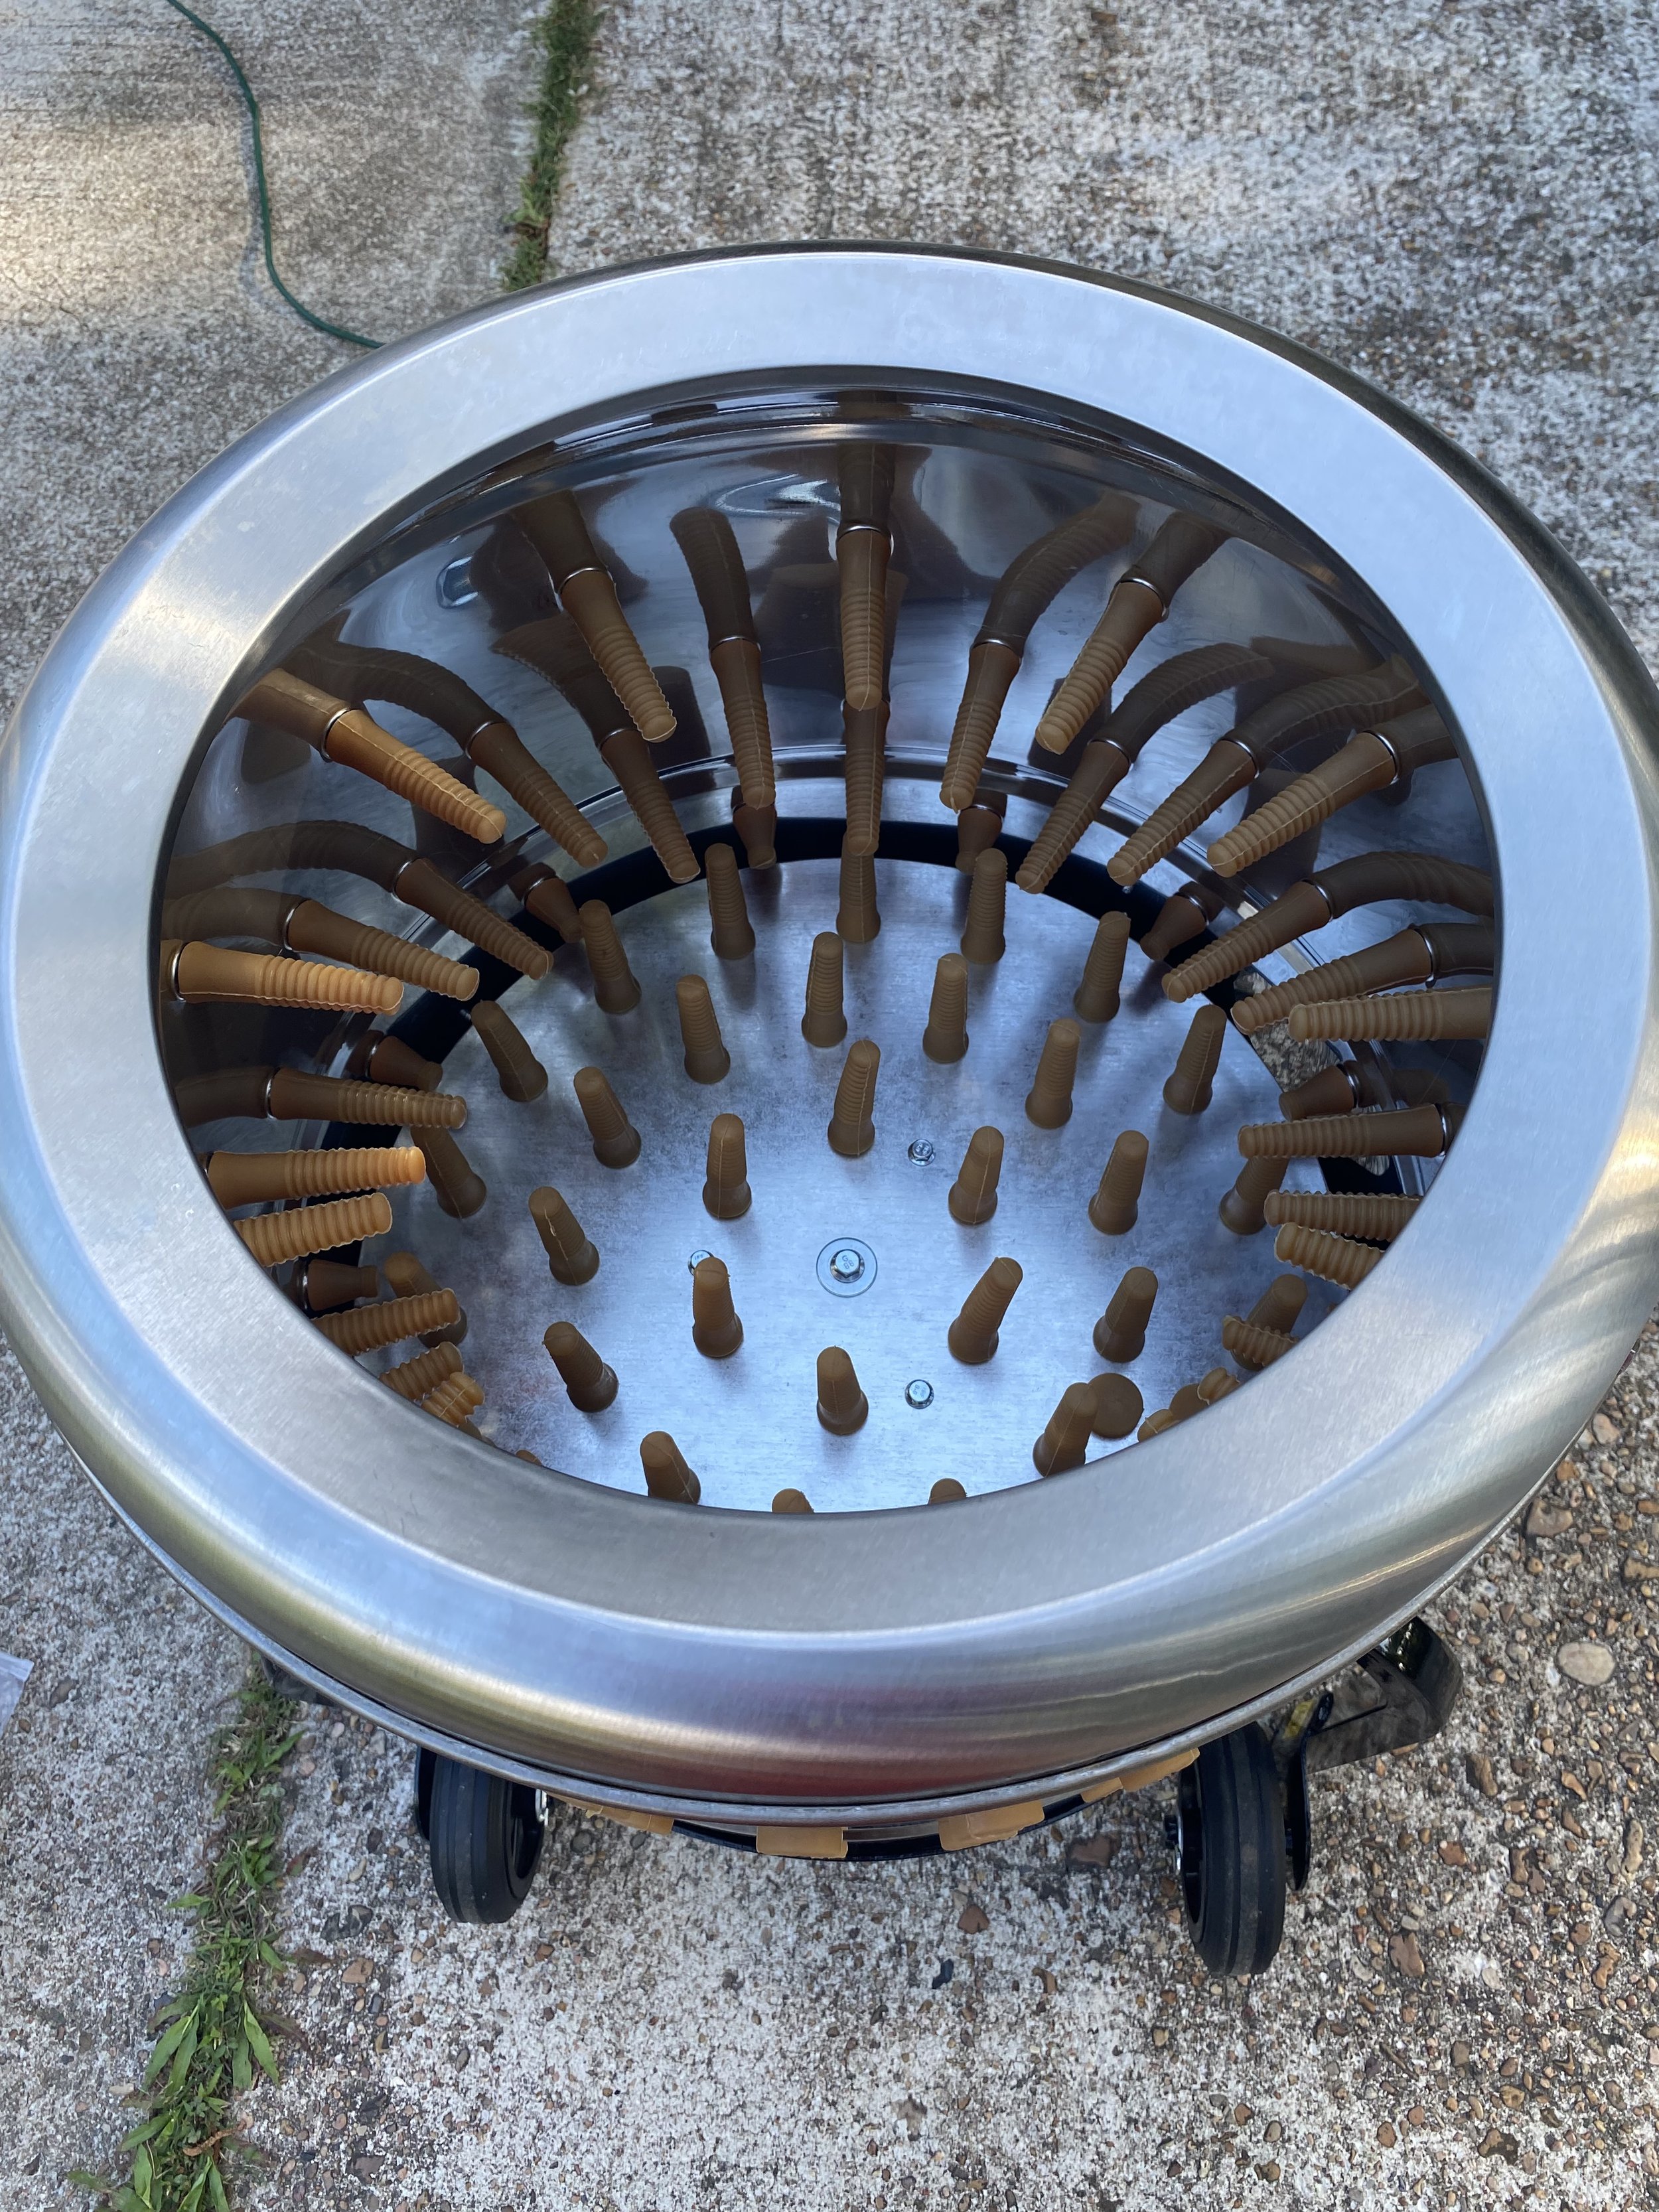
9. Plucker – NOW this is NOT absolutely required BUT it sure does make things move pretty quickly. If you want to pluck your bird by hand, ignore this and happy plucking. Some farm supply locations may actually have one available for rent! Or you could find a good homesteading friend to invest in this piece of equipment with you – share the cost! We don’t have any homesteading friends nearby and knew we’d raise a few batches of birds each year so for us, we just bit the bullet and invested in this piece of equipment and I’m so glad we did! We have THIS one and it’s been great! I honestly have no complaints – it’s done a great job cleaning our birds.
10. Propane burner and tank. We process our birds outside 100% of the time so this is a must. It’s stinky and messy and we process more than 10 at a time so doing this inside is not practical for us. If you’re only processing 1 bird, you could absolutely get away with doing away with much of this list and processing in your kitchen.
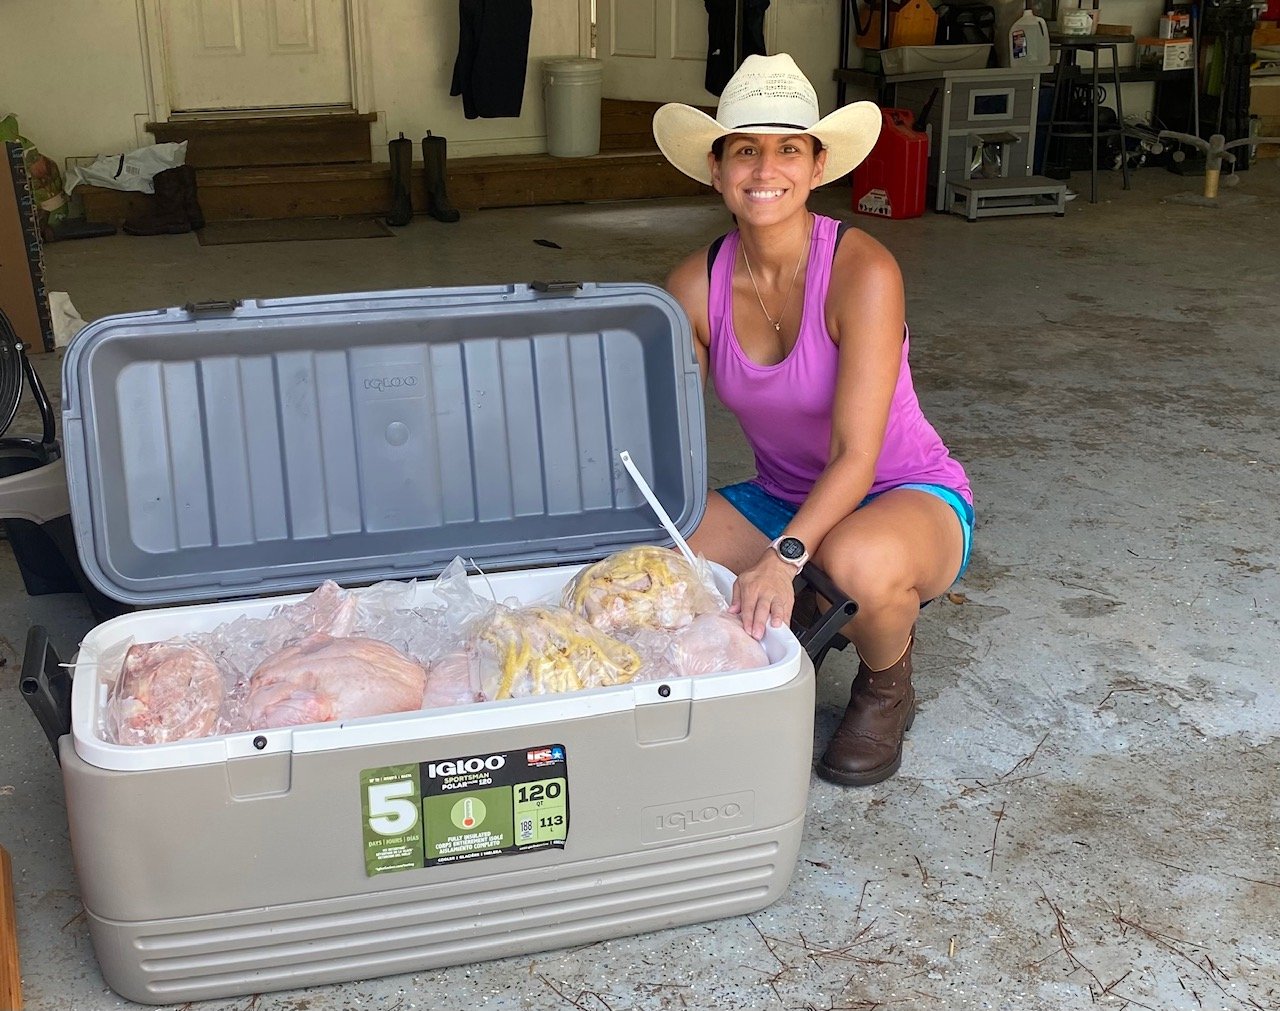
11. Ice and a large cooler! You won’t be placing your birds in the freezer right away.
How to Process
I’ll explain as best as I can BUT I cannot recommend enough that you should watch some videos. We watched a ton in addition to reading about what to do and we would not have been successful without both. There are some amazing homesteading videos out there that show you what to do in just a few minutes. I don’t have the videography skills just yet to do that though!
1. Get your pot of water up to about 145-150 degrees. Maintain this temperature! You don’t want to cook your birds.
2. Place your chicken into the cone. Give them a minute to calm down (blood will rush to the head). Gently stretching their head taut, sever the artery and allow them to drain out under the bucket beneath them. You can save this blood for your garden (lots of nutrients in there – just dilute with some water).
3. Once drained, holding their feet, dip them up and down in the water for about 30 seconds. This is loosening their feathers for plucking.
4. When the feathers pull out with ease, you can place in your plucker machine (or pluck by hand). Leave in the machine about 30 seconds. If there are just a few feathers left, pluck by hand.
5. Once fully de-feathered, you can begin the process of eviscerating your bird. Here is where I recommend watching some videos because this is hard to explain. So I’ll leave this at just eviscerate your bird. Take care of the organs if you intend on saving them.
6. Rinse your bird out once cleaned. Rinse your station as well before working on another bird (I always rinse in between to keep my areas as clean as possible. Place each thing in its perspective bucket. I do recommend having some very cold water to place your cleaned birds in so the temperatures of the bird come down a bit. You don’t want to keep them warm for extended periods of time.
7. Once all of your birds have been processed, you can begin getting a clean pot of water up to temp on your propane burner. You want this water to be about 190 degrees. Put your birds in the sealing bags and set upside down to allow any excess water to drain out (there are lots of contraptions out there you can make for this). THIS is a GREAT article on this process.
8. When your bird is dried out, twist the bag and seal as tightly as you can with the zip tie. Cut a small hole in the bag to help with the sealing process. Dip for just a few seconds in the hot water and the bag will begin to seal! Dry that area and place a sticker or tape over the puncture in the bag.
9. Do NOT put your birds straight into the freezer. This will cause your meat to seize and it’ll turn tough. You want your birds to come down in temp gradually and cool down so you’re going to place the birds into a cooler (or your fridge) with ice. We let ours stay in the cooler anywhere from 6 hours to overnight before placing in the freezer.
10. Start cleaning up! Sanitize your equipment. Discard unusable items. Place feathers into your compost if you want. But you’re now done and can get some fresh food on the table or into your freezer!
It’s definitely a process to process your birds. The first time we only processed 10 birds and it took us HOURS! We weren’t fully sure of what we were doing and I wasn’t fully prepared for what the process entailed. As someone who had NEVER touched done anything like this before, it was a bit of a shock. The next time we did it, we did more than double what we’d done the first time and it went SO much smoother and quicker.
My husband and I do this by ourselves but if you have friends, it’ll not only help the process go quicker but you continue to build your friendships with those willing to lend a hand!
If you decide to embark on this journey, good luck and Happy Homesteading!